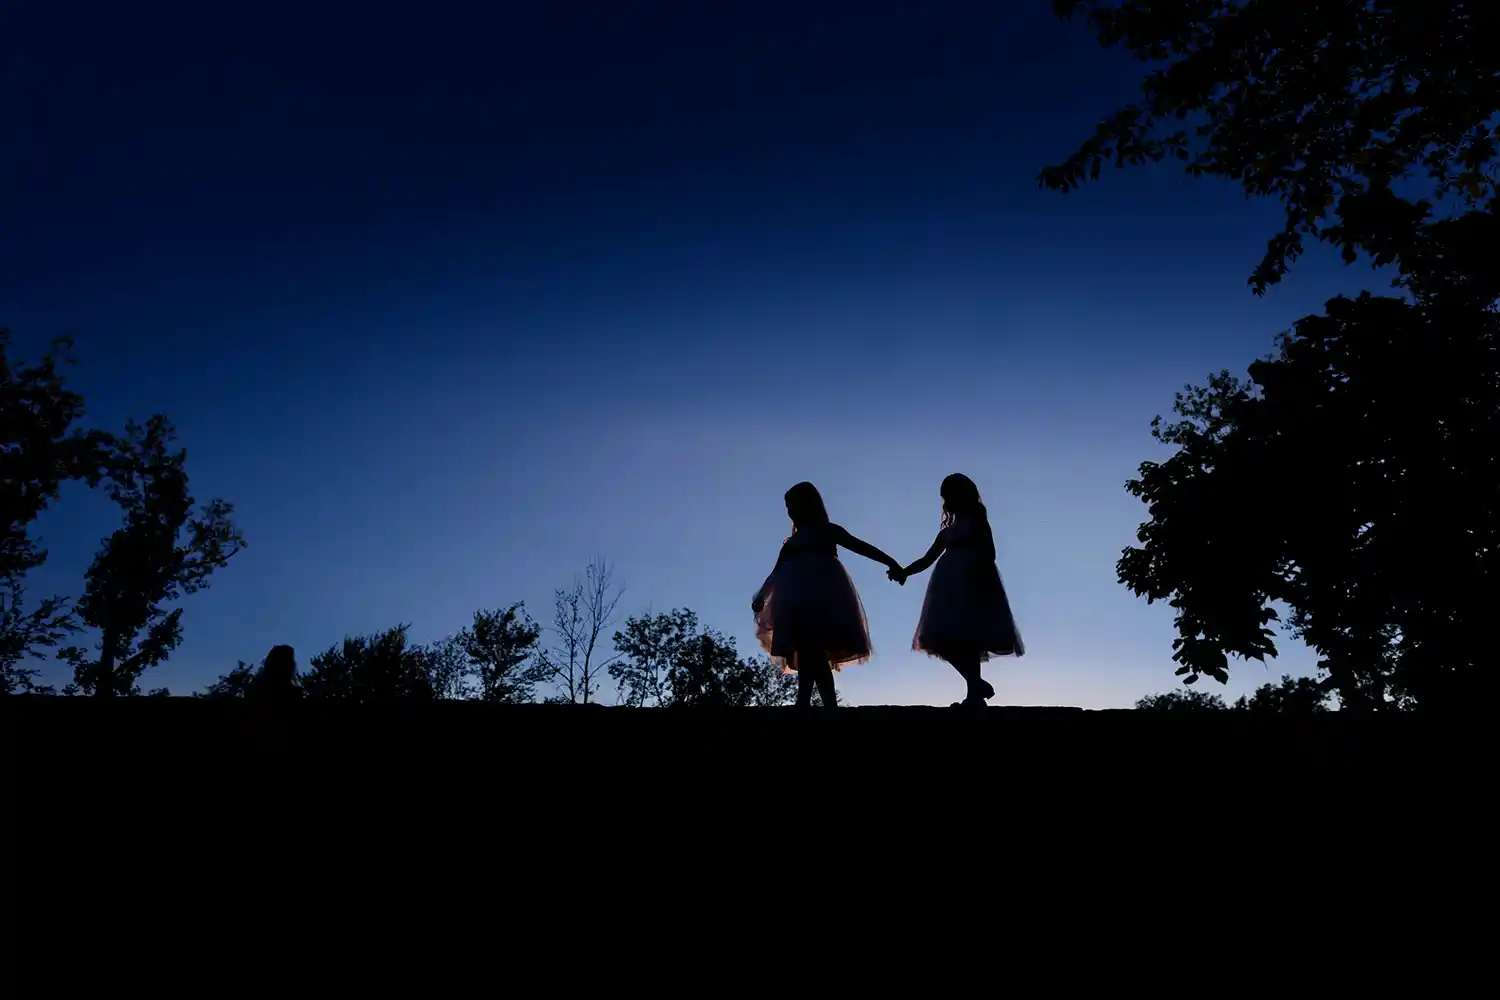
Your best camera settings will be the one that gets the right exposure to get a perfectly exposed sharp image. I try to always have a shutter speed above 1/125 to avoid camera shake. I also prefer an aperture of 5.6 or above to make sure our wedding couple is in focus.
There are times I break these rules, but it’s a great starting point for a beginner wedding photographer.
As an experienced wedding photographer, I understand the importance of mastering your camera settings to capture those once-in-a-lifetime moments flawlessly. In this blog post, I’ll share tips and recommended settings to help new wedding photographers get the most out of their gear when shooting weddings.
Wedding Photography: Understanding the Exposure Triangle
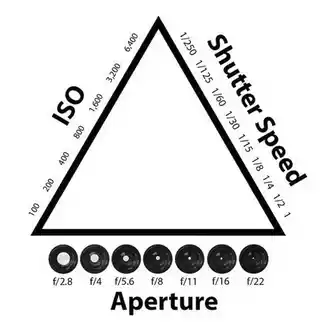
The aperture is like the iris of your eye. A larger aperture (smaller f-number like f/2.8) lets in more light, creating a shallow depth of field perfect for those romantic, soft-focus bride and groom portraits. A smaller aperture (larger f-number like f/11) lets in less light, keeping everything from foreground to background in focus, ideal for group shots. Many starting wedding photographers love to shoot “wide open” at 2.8 or even 1.2. Sometimes this will cause the final image to look soft when enlarged. Or worse you will get one face in focus and another out of focus. So many photographers get away with this for online images but if you want to sell prints and albums you want images in focus.
Shutter speed determines how long your camera’s shutter stays open. Fast speeds like 1/500th of a second freeze action, perfect for capturing spontaneous dance moves or the bouquet toss. Slower speeds like 1/60th of a second allow for more light and can introduce artistic motion blur.
ISO controls your camera’s sensitivity to light. Start with the base ISO (100 or 200) in good lighting, increasing it as light levels drop to maintain a fast shutter speed. Higher ISOs like 1600 or 3200 allow for sharper images in low light but can introduce digital noise or grain.
Don’t be afraid of grain. Avoid under-exposing (making the image too dark)
Manual Mode Versus Priority Modes
Now that you understand the Exposure Triangle, let’s discuss Manual Mode versus Priority Modes. Both have their merits, but understanding their differences will help you decide which to use.
Manual Mode gives you complete control over the aperture, shutter speed, and ISO, allowing for consistent exposure throughout the wedding. You’re in the driver’s seat, making every decision. While daunting at first, shooting in Manual Mode will help you better understand your camera and improve your photography skills. Where I use manual focus is always my ring photos. I find with a macro lens the focus jumps a bit. So manual focus will lock it in. This only really works if you have a tripod of your camera held steady.
Priority Modes offer partial automation. In Aperture Priority (Av/A), you set the aperture, and the camera determines the shutter speed. This is perfect for controlling depth of field and useful when lighting conditions change frequently. Shutter Priority (Tv/S) lets you set the shutter speed, with the camera managing the aperture. Ideal for capturing motion like the couple’s first dance.
My go-to is aperture priority. With documentary wedding photography, you are switching scenes fast. This will allow the camera to change the settings for you so as not to miss a special moment. When I have consistent scenes like a dance floor then I will go to manual mode every time.
Advanced Focus Techniques
Mastering advanced focus techniques can elevate your wedding photography to new heights, providing precise control over what parts of the image are sharp and in focus.
Your camera likely has several autofocus modes. Single-point autofocus is great for static shots like the bride getting ready or the rings on a cushion, allowing you to precisely select your focus point. But for moving subjects, like the first dance or the bride’s entrance, switch to continuous or tracking autofocus to keep your subjects sharp.
Back-button focusing is another powerful technique, separating the focusing function from the shutter button. This allows you to lock focus independently of taking the shot, particularly useful in tricky lighting or when you want to pre-focus. Here is an article from Canon on back button focus. Each make and model is a bit different so you will need to look up your camera. https://www.usa.canon.com/learning/training-articles/training-articles-list/back-button-autofocus-explained
Manual focus might seem old-school, but it’s a valuable tool, especially in low-light situations like a candlelit reception where autofocus might struggle. By manually adjusting, you can confirm tack-sharp focus, even in challenging conditions.
White Balance Setting for the Wedding Day
While mastering focus techniques guarantees sharp images, getting the white balance right is just as vital for accurate color representation in your wedding photos. The good news is you want to get it close. Your post-processing and Photoshop work will get you the rest of the way later.
White balance tells your camera what ‘true white’ looks like in the lighting conditions you’re shooting in. If set incorrectly, your photos can have an unsightly color cast, making the bride’s dress appear blue or the groom’s suit look brown.
Most cameras have an automatic white balance (AWB) setting, but it isn’t always reliable, especially in mixed lighting conditions common at weddings. For consistent results, use the ‘custom’ or ‘manual’ white balance setting and adjust it according to the color temperature of the light sources present. For instance, incandescent lighting requires a lower setting (around 3000K), while daylight calls for a higher setting (around 5500K).
A practical tip is to adjust your white balance for key moments of the wedding. For instance, during the ceremony, you might want a neutral or slightly warm tone to convey the emotional warmth of the moment. I use a ExpoDisc or grey card. The ExpoDisc is a tool to preset the color balance in the camera using the available light. https://www.expodisc.com/
Shooting RAW vs JPEG for the Wedding Day
The decision between shooting in RAW versus JPEG can greatly impact your final wedding images, so choose wisely. Well, as long as it’s shot RAW. Plan and simple. RAW will allow you greater control later. Keep reading…
Shooting in RAW provides the most flexibility. RAW files capture all image data recorded by the sensor, allowing you to adjust the image intensity, white balance, and other factors during post-processing. You’ll have more control in bringing your creative vision to life. However, RAW files are larger, taking up more memory and requiring more powerful editing software.
On the other hand, JPEG is a compressed file format. It’s smaller, easier to share, and doesn’t require as much processing power to edit. But, the camera processes and compresses the image, sometimes leading to a loss of detail that can’t be recovered. If you’re confident in your in-camera settings and don’t plan on heavy editing, JPEG could work for you.
Final thought…always go RAW and just buy larger or more cards for your camera. You will thank me in the end.
ISO Settings
Understanding ISO settings is essential, as it directly affects your camera’s sensitivity to light and is a vital part of the exposure triangle.
In brighter environments, you’ll want to use a lower ISO like 100 or 200 to reduce the amount of light your camera absorbs, preventing overexposure. In low-light situations like a dimly lit reception hall, increase your ISO to 800 or even 1600 to brighten your images.
But be cautious! Higher ISOs amplify digital noise or grain, resulting in less sharp and crisp photos. Every camera handles high ISOs differently, so check your camera’s capabilities.
Find a balance. Too low of an ISO in a dim setting will yield dark, underexposed images. Too high, and your photos may be grainy and lack detail.
Practice adjusting your ISO to find what works best for different lighting conditions. Mastering your ISO settings will help create beautifully exposed wedding photos, capturing those precious moments in the best light possible. ISO will also allow adjustment when your shutter speed is too low. Too low of shutter speed and your images will be blurry from camera shake. The number 1 issue I see with wedding photographers I work with is having the shutter get too low when the scene gets dark. They miss it and forget to raise the ISO. Remember the rule for shutter speed is 1/your lens and never go lower. If you are shooting with a 100mm then never go below 1/100. I also find anything below 1/100 will get blurry. That’s the cut-off most people can not hand-hold a camera without a camera shake.
F-stop and Depth of Field
The F-stop, or aperture, controls the amount of light entering the lens and determines the depth of field, playing an essential role in creating enchanting wedding photographs.
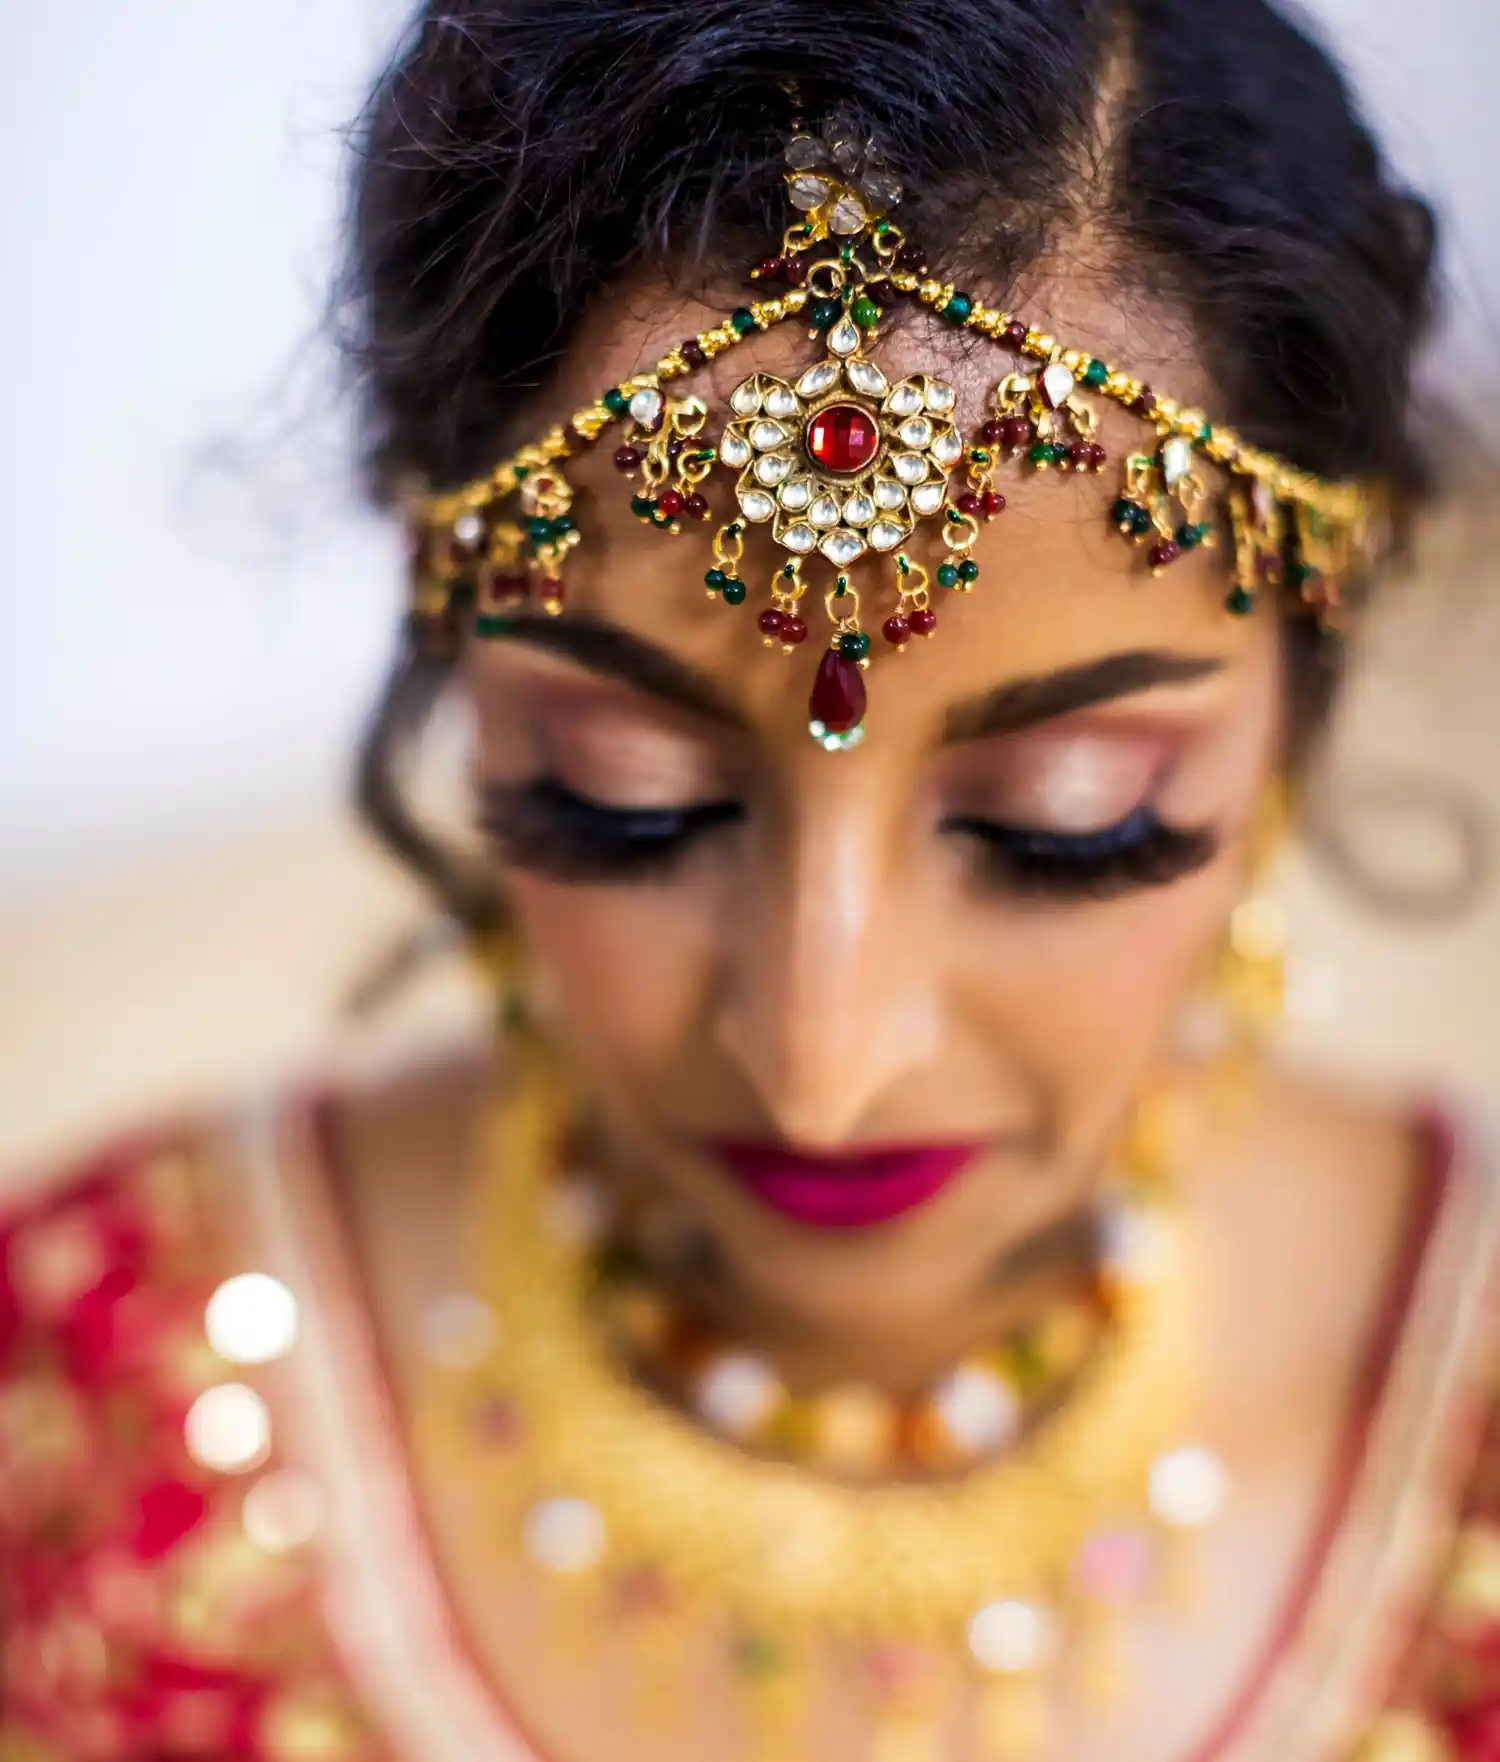
A lower F-stop like f/1.8 allows more light in and creates a shallow depth of field, ideal for capturing stunning portraits with blurred backgrounds. But don’t get stuck on a low F-stop.
Sometimes, you’ll want everything in focus, like during group shots or wide-angle venue photos. Here, a higher F-stop like f/8 or f/11 works best, reducing the amount of light entering the camera and increasing the depth of field, keeping more of the scene sharp.
Remember, adjusting the F-stop impacts the exposure. A lower F-stop means more light, potentially overexposing your image. Balance this with your shutter speed and ISO to maintain correct exposure. Conversely, a higher F-stop may underexpose your shot, necessitating slower shutter speeds or higher ISOs.
By mastering these camera settings, you’ll be well on your way to capturing the magic of a wedding day. Don’t be afraid to experiment and find what works best for your style. And always, keep practicing and refining your skills. It’s a never-ending journey, but one that will reward you with breathtaking wedding photos that will be cherished for a lifetime. If you are looking for more tips checkout this blog on controlling your costs for your wedding business.
Key Takeaways
- Always get your exposure right in the camera
- Shoot RAW
- Use your F-stop to blur the background, not the subject
- Don’t let your shutter speed get too low to hand-hold the camera
Good luck at your next wedding and have fun.
